Google Analytics

Showing posts with label diy. Show all posts

Monday, July 25, 2011

Easy kitchen face-lift

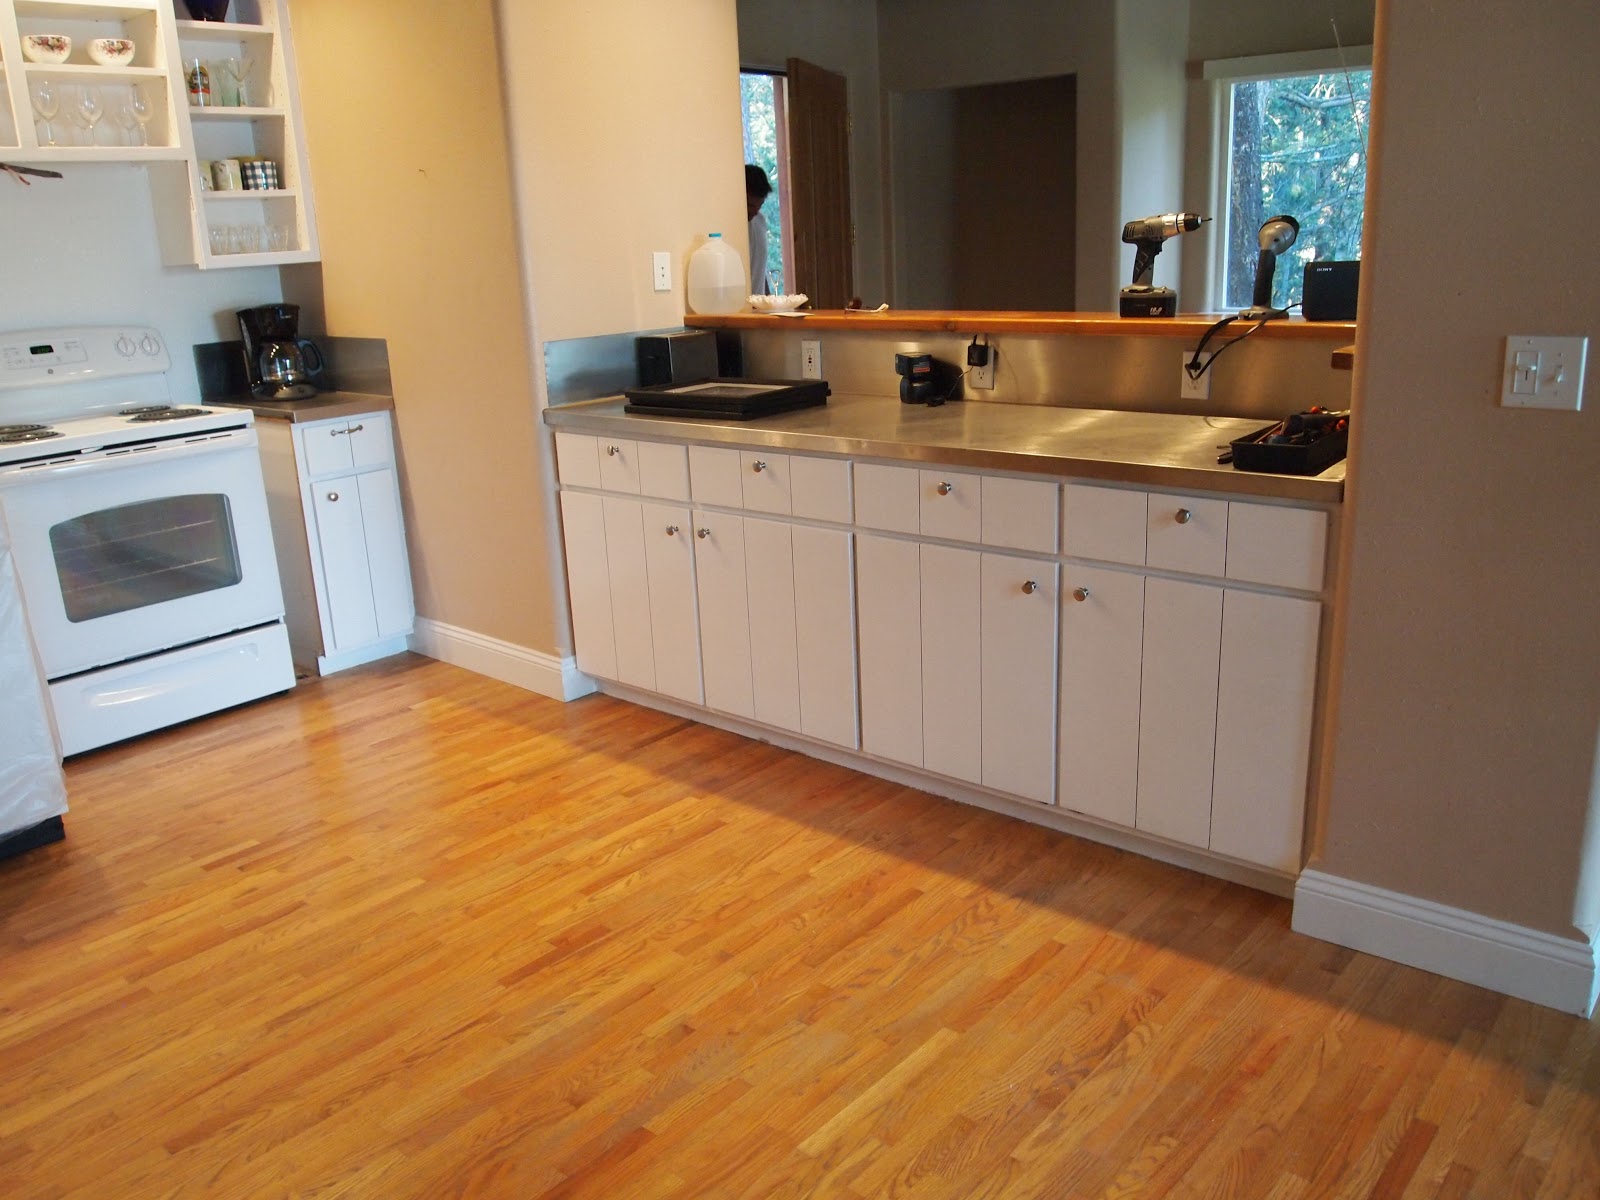
Thanks to a weekend of sweat equity, the kitchen in our Montana cabin is about 80% complete.  Oh - what a difference a few coats of primer, paint, and shiny new hardware make. 

"Before"


"After"


I used a chemical de-glosser on the cabinets, which eliminated the need to sand, before putting on two coats of primer and two coats of glossy paint (Martha Stewart's paint in bright white).  A coat of primer and a coat of semi-gloss paint (MS painter's chalk) on the accent wall in the kitchen took it from a multi-hued red to a nice, neutral white.
 
The kitchen still needs a little work (e.g. dishwasher needs to be installed, light fixture changed out, filler cabinets put in next to the stove) - but it looks TONS better than it did before.


Wednesday, June 29, 2011

Revamped dining room table: Raindrops on Roses

Check out my sister's adventures in revamping her dining room table on her blog: Raindrops on Roses


A reupholstered chair seat using Waverly's Sun n Shade fabric in
Parterre Indigo (tip: indoor/outdoor fabric is super easy to clean)

Tuesday, June 21, 2011

Feeling blue (painted laminate nightstand)

"Before"


The white laminate nightstand pictured above was another one of my Value Village finds - and cost me a whopping $9.99 + tax.

At first glance it didn't look too shabby - but a closer look revealed stains, warped spots, and ingrained dirt.  Also - I didn't get the oversized knob.  I'm sure its supposed to be whimsical/child like, but...
After cleaning and sanding a couple rough spots on the top, I primed the nightstand with Zinsser Cover Stain.  I let the primer dry, then lightly sanded to remove brush strokes and drips before applying two coats of RustOleum American Accents paint in wild flower blue.  Note: Its important to prime laminate before painting, otherwise your paint will eventually bubble.  On a positive note - you don't need to sand before priming.

A crystal knob, purchased at Anthropologie on sale for $2.95, added a lovely finishing touch.

"After"

It'll look perfect in one of the guest rooms in our Montana cabin (between two twin beds).  Purchasing a similar night stand brand-new could have cost me as much as $145.00.

 The DIY Show Off

The Shabby Nest

Thursday, June 9, 2011

Gray, gold, and white bedroom


As I mentioned in a previous post (here), the hubby and I bought a vacation home - which means I now have 4 bedrooms to decorate (among other things).

I'm planning to paint one of the bedrooms gray - and a recent Ross purchase (photo below) inspired me to go with a gray, gold, and white theme (inspiration board/details above).


I don't want to spend a ton of money decorating a place that's not our primary residence - so I've been scouring our storage space, thrift, and discount stores for items.  My goal is to keep the decorating budget for this room below $200.00 (I must admit the art ate up 25% the budget, but I couldn't resist).

Other gray & gold inspiration (via Pinterest)


Wednesday, June 8, 2011

Painted thrift store nightstand

"Before"
(my cat is so nosy!)

I found the lovely (yet warped/scratched/scruffy) nightstand, pictured above, on a thrifting adventure with my partner in crafting, Leigh.

While it looked like a hot mess - I thought it had potential (solid wood, woohoo!) - so I ponied up $9.99 + tax and took it home.

For my maiden painting voyage I used: Zinsser spray primer (oil-based - needed a primer since it was so damaged), Rust-oleum spray paint in heirloom white (1.5 cans), Minwax water-based poly-acrylic, a mask, a medium grain sanding sponge, and a drop cloth.  I relied heavily on the tutorial here and the FAQ's here - both via Centsational Girl.

"Work in Progress"

If I had a time machine I would do the following differently:  I'd use a brush on primer, which goes on thicker, on the top of the night-stand for durability and to hide blemishes, and I would do a better job sanding my primer drips (it took me a while to perfect my spray paint technique).

I'm going to sew a little runner for the top of the nightstand using the material I bought to re-upholster the chair in a post below.

"After"


A couple notes:  I didn't sand all the original finish off, I only sanded enough to rough up the surface of the nightstand and remove any lacquer/debris.  The mask is definitely a MUST when you're sanding and painting (wood particles/fumes).  If I ever paint anything bigger than a nightstand I'm definitely using traditional paint.  The fumes are KILLER (and bad for the environment, I feel a little guilty, but re-using furniture instead of buying new furniture must get me some carbon credits, right?). Finally, re-painting furniture doesn't take a huge time commitment.  My total "active" time on this project was probably an hour.


The DIY Show Off